Difference between revisions of "Adding objects to the scene"
(Created page with "==Adding objects to the scene== <<Preparing story files Part 5 Now that we have our blank slate we can start to make the scene Open pack_Tutorial\sources\scenes\tutori...") |
(→Adding objects to the scene) |
||
| Line 42: | Line 42: | ||
Make a copy of the original start.ini and replace it with the one in the Pt5 folder | Make a copy of the original start.ini and replace it with the one in the Pt5 folder | ||
| + | <syntaxhighlight lang="cpp"> | ||
| + | |||
| + | ////////////////////////////////////////////////////// | ||
| + | // Defines | ||
| + | ////////////////////////////////////////////////////// | ||
| + | |||
| + | #define SOURCES "../pack/pack_tutorial/sources/" | ||
| + | #define RUNTIME "../pack/pack_tutorial/" | ||
| + | |||
| + | ////////////////////////////////////////////////////// | ||
| + | // Convert settings | ||
| + | ////////////////////////////////////////////////////// | ||
| + | |||
| + | // Copy textures to runtime directory and create directory if it not exists | ||
| + | maya_auto_copy = COPY_DIR; | ||
| + | |||
| + | // Use compressed color textures | ||
| + | maya_auto_compress = COLOR; | ||
| + | |||
| + | ////////////////////////////////////////////////////// | ||
| + | // Convert maya scene | ||
| + | ////////////////////////////////////////////////////// | ||
| + | |||
| + | Maya scene | ||
| + | { | ||
| + | src_path = "[SOURCES]"; | ||
| + | run_path = "[RUNTIME]"; | ||
| + | in_file = "[SOURCES]scenes/tutorial/scene.ma"; | ||
| + | } | ||
| + | ////////////////////////////////////////////////////// | ||
| + | // Compress textures | ||
| + | ////////////////////////////////////////////////////// | ||
| + | |||
| + | Compgen compress0 | ||
| + | { | ||
| + | // Comment if you don't want to compress files everytime again | ||
| + | //compress = true; | ||
| + | } | ||
| + | </syntaxhighlight> | ||
Then run the filemaker again it will be loud unless you turned your volume down and should say Ended Filemaker | Then run the filemaker again it will be loud unless you turned your volume down and should say Ended Filemaker | ||
Revision as of 02:11, 16 August 2015
Adding objects to the scene
Part 5
Now that we have our blank slate we can start to make the scene
Open pack_Tutorial\sources\scenes\tutorial scene.ma
If you have never used maya before this might help
Once open we will have 5 lights a ground and waypoint with no textures
To start importing go to file then import
Start importing the obj's from part3 or your own obj's
After all objs have been imported note their names
bed:bedShape is a very bad name since it the filemaker will not know what to do with this and make it a "FILE" not an obj
When that "FILE" is coped or compressed it will corrupt causing errors for anyone else but it will still work for you uncompressed (found that out the hard way)
Make sure there is no : in the names textures don’t matter if they have the : but best to change them anyway
So rename everything in the scene (feel free to delete the little button things i missed)
There is a sceneRenamed.ma(remember to rename it to scene.ma) in the folder if you just want to copy and replace it but id suggest getting used to Maya and naming things
Now that we have that lets see it ingame
First we need to save our scene then run the file maker with a edited start.ini
Make a copy of the original start.ini and replace it with the one in the Pt5 folder
//////////////////////////////////////////////////////
// Defines
//////////////////////////////////////////////////////

#define SOURCES  "../pack/pack_tutorial/sources/"
#define RUNTIME  "../pack/pack_tutorial/"

//////////////////////////////////////////////////////
// Convert settings
//////////////////////////////////////////////////////

// Copy textures to runtime directory and create directory if it not exists
maya_auto_copy = COPY_DIR;

// Use compressed color textures
maya_auto_compress = COLOR;

//////////////////////////////////////////////////////
// Convert maya scene
//////////////////////////////////////////////////////

Maya scene
{
src_path = "[SOURCES]";
run_path = "[RUNTIME]";
in_file  = "[SOURCES]scenes/tutorial/scene.ma";
}
//////////////////////////////////////////////////////
// Compress textures
//////////////////////////////////////////////////////

Compgen compress0
{
  // Comment if you don't want to compress files everytime again
//compress = true;
}
Then run the filemaker again it will be loud unless you turned your volume down and should say Ended Filemaker
Press Exit
Run XStoryPlayer 3 and chose story and the tutorial
Well ill let you work this one out
Stuff like this will happen alot trust me and learning why errors happen is important
If your stuck use the hint.txt or answer.txt
After you find the error and correct it re run the game and check the scene
Everything is gray and you can walk through walls but it works
Back to Maya
Ok lets move some of this stuff where its meant to be
Select the inside door(one without the glass)
Press W or go to the movement button
Notice the pivot point is not on the door
Go to modify > centre pivot to move the pivot to the centre of the door
But when we open the door it will rotate around its pivot which is not in the centre so lets move it to where its meant to be
Hold d then leftclick on the gismo xyz that you need so it turns yellow
Then hold middle mouse and move it
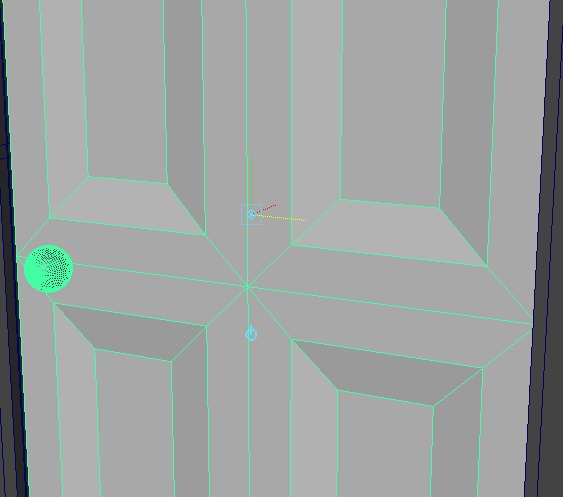
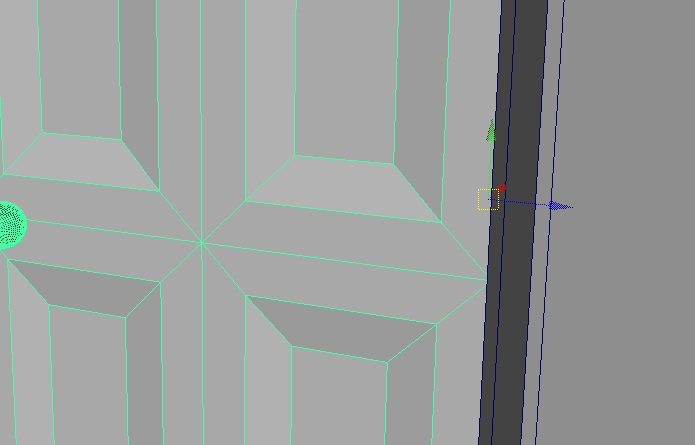
Next find the doorframe and centre its pivot if its not already then press ctrl + d to duplicate it and move it to the doorway leading to the balcony
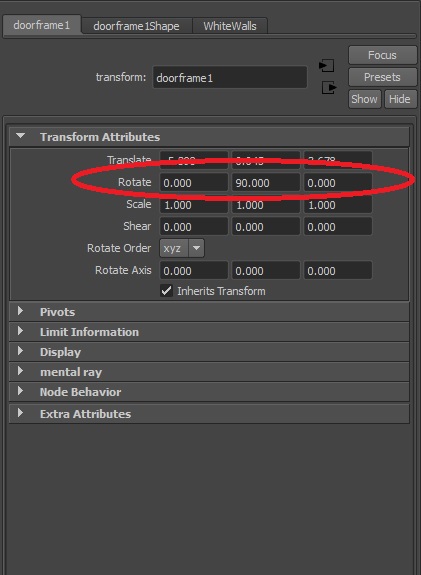
its the wrong way that’s easy to fix select the doorframe and go to the first name box then rotate it by 90 degrees in the 2nd rotate box
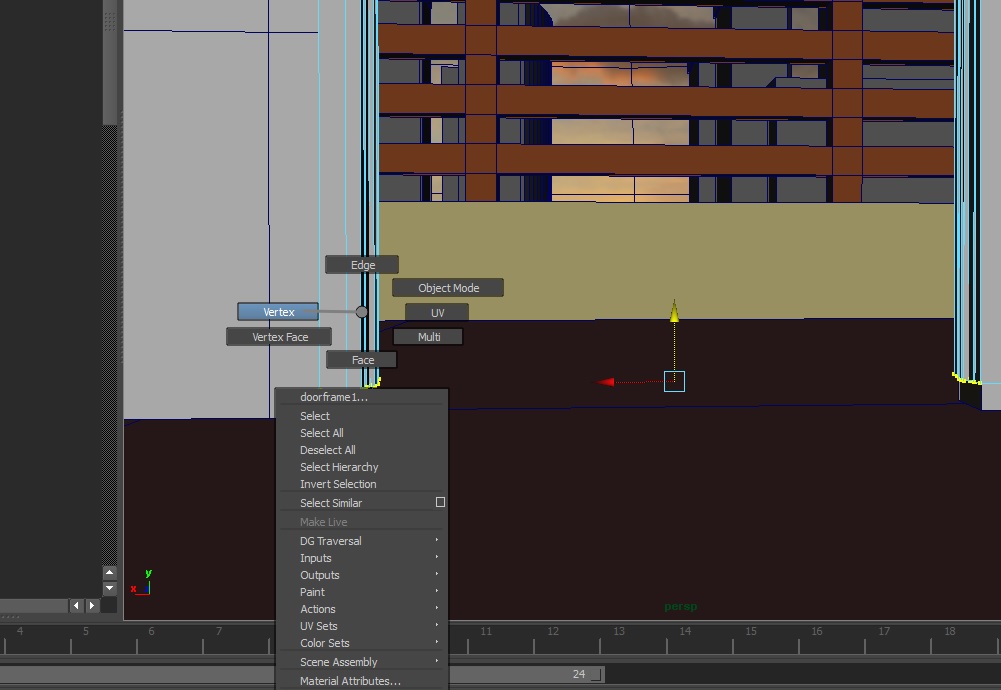
It doesn’t fit select the doorway and hold right click on it and choose vertex
Then select the bottom vertexes and move them down so it fits
Make sure you dont go below the ground plane or it will sometimes flicker when you look down
Then deselect the object by clicking off it
Next put the door in the doorway
Then dupe both the door and the doorway by selecting the doorway then holding shift and clicking the door then ctrl + d
Fill all the doorways with doors and doorways
Use the scene_doorsdone if you need to just remember to rename it to scene.ma
Now that that’s done lets add some textures in nothing hard for now lets just use solid colours
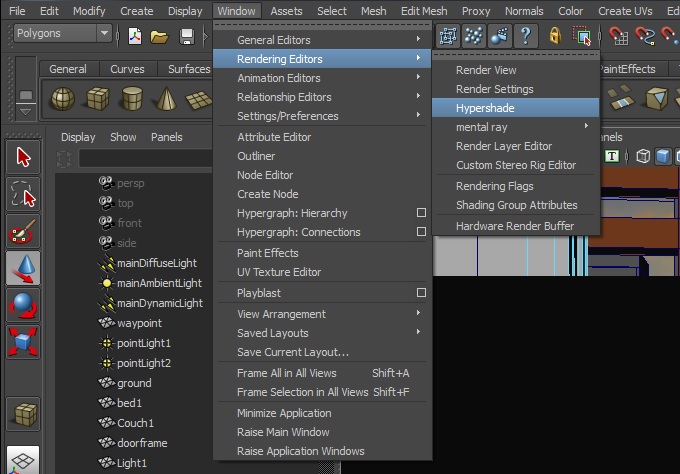
Go to windows > render editors > hypershade
Why cant it be called material browser i don’t know
Lambert is basic matte colour with no reflection phone has reflection
Lets use Lambert for now and start with the doors
Why did we put doors in all the doors before texturing them, Now i have to do them all
Yep unless you read ahead and saw this
Lets make the doors a white colour
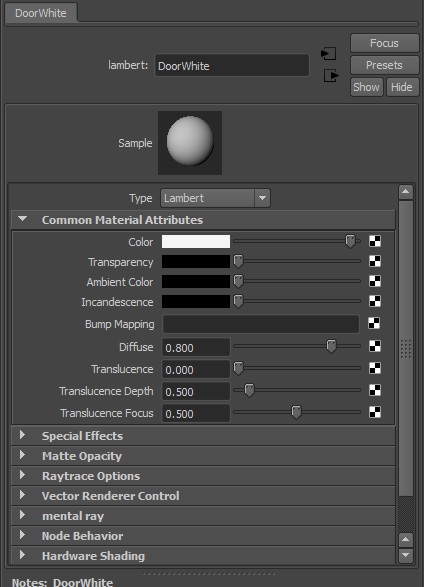
Click on Lambert
A new material will be created called lambert 2 since there is already a Lambert 1 which can not be deleted
change the colour to slightly off white and rename it to DoorWhite
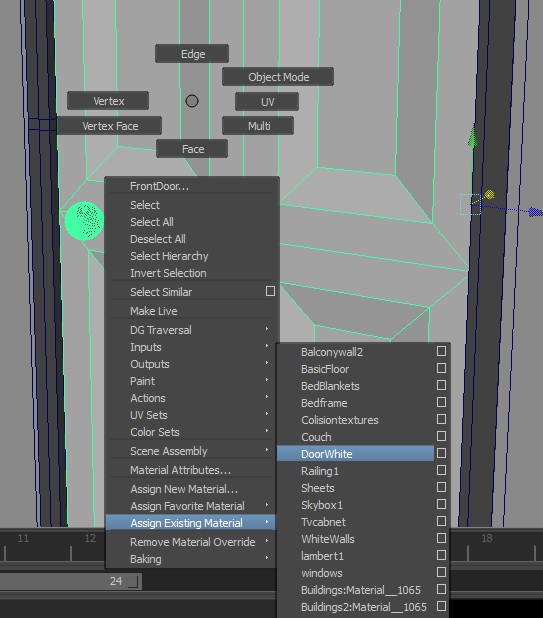
next select a door and hold right click on it
Go down to assign existing material
and choose DoorWhite do this with all the non glass doors
You can shift select all the doors and it will apply to all that is selected
Next make a new phong texture make it silver and name it doorhandles
Next apply it to all the doorhandles
I can't select the door handles that’s easy
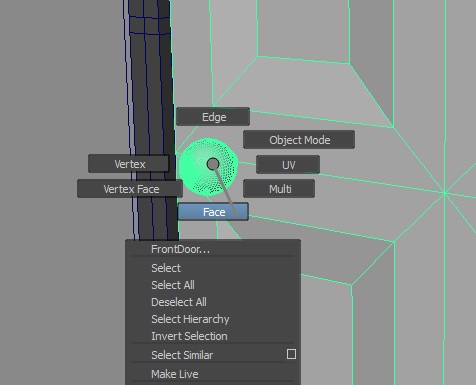
Select the door Hold right click on it Select face
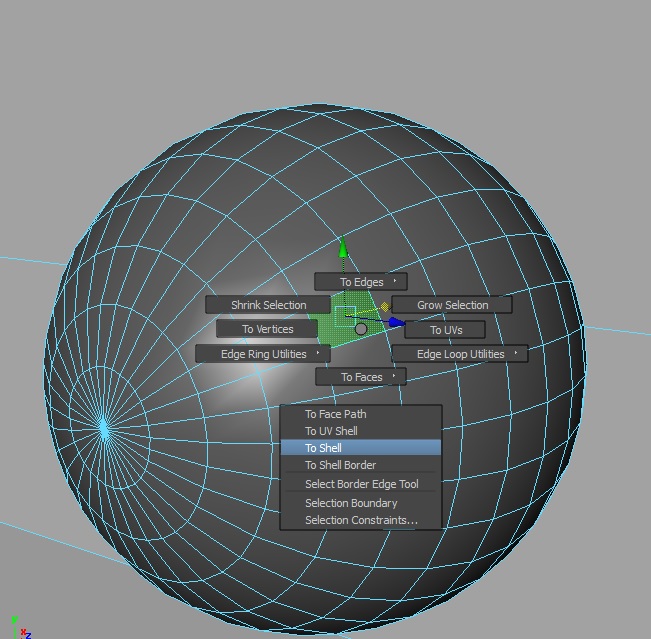
Select a face on the door handle and hold shift then select a face on the Other sides handle Hold ctrl and then hold right click Select to shell
Then hold right click and assign existing material Doorhandles
Deselect door
Do that to all the non glass door handles
All done good now you know how to do that quite well
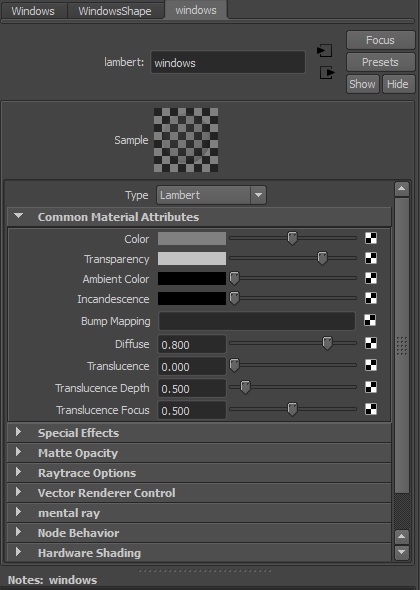
Next is windows make a Lambert material and call it windows and put the transparency to about 75% or almost white
Now apply that to the windows
Congrats you know how to make and apply basic materials
Continue making materials and applying them to the scene as you see fit
After you have finished save and run the filemaker then have a look ingame
You can use the screenshots in part3 for references
Part 6 looks lonely
