Difference between revisions of "Creating cloth"
From XStoryPlayer Wiki
| Line 17: | Line 17: | ||
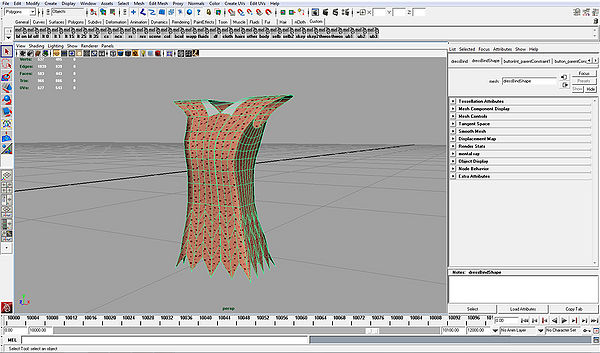
<li>In this tutorial we want to change the shape of the dress a bit. We can use the bind-mesh for that.<br> | <li>In this tutorial we want to change the shape of the dress a bit. We can use the bind-mesh for that.<br> | ||
Change the "dressBindShape" so it looks somewhat like this:<br> | Change the "dressBindShape" so it looks somewhat like this:<br> | ||
| − | [[file:cloth3.jpg|600px]] | + | [[file:cloth3.jpg|600px]]<br> |
| + | Save the <code>body.ma</code> file. Add the maya convert code to the <code>start.ini</code> of the filemaker:<br> | ||
| + | <syntaxhighlight lang="cpp"> | ||
| + | Maya scene | ||
| + | { | ||
| + | src_path = "[SOURCES]"; | ||
| + | run_path = "[RUNTIME]"; | ||
| + | |||
| + | in_file = "[SOURCES]scenes/character6_cloth/body.ma"; | ||
| + | } | ||
| + | </syntaxhighlight> | ||
| + | Run the filemaker and the new cloth objects should be created in the <code>/scenes/character6</code> directory. | ||
</li> | </li> | ||
</ol> | </ol> | ||
Revision as of 14:13, 14 January 2015
In this tutorial you will learn how to create/change cloth. You will also learn how to use XStoryPlayer for storing cloth states.
Steps
- Copy the
/sources/scenesfrom the 'Tutorial resource pack' to thesourcesdirectory in the/pack/pack_adbucteddirectory.
The file contains the maya cloth meshes for the Saiko (Alien) character.
Open thebody.mafile in Maya. Also open the body.ini file in a text editor.
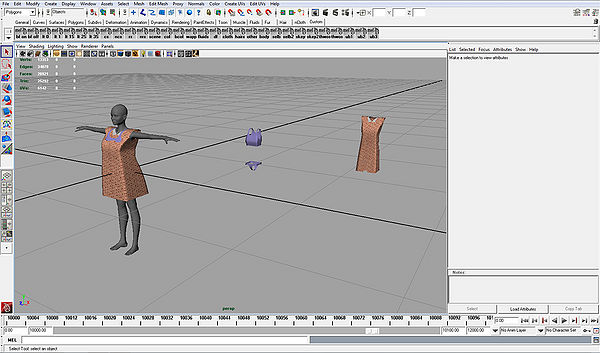
- A cloth needs two meshes to work. A bind-mesh that contains the actual pattern of the cloth. If we change this mesh the shape of the cloth is changed.
Then there is also a render-mesh that is used for rendering the cloth. It has a higher sub-division level for more detail.
The dress for example has bind-mesh "dressBindShape" and render-mesh "dressShape".
The render mesh needs to be positioned around the character so it does not intersect. - In this tutorial we want to change the shape of the dress a bit. We can use the bind-mesh for that.
Change the "dressBindShape" so it looks somewhat like this:
Save thebody.mafile. Add the maya convert code to thestart.iniof the filemaker:
Maya scene
{
  src_path = "[SOURCES]";
  run_path = "[RUNTIME]";

  in_file  = "[SOURCES]scenes/character6_cloth/body.ma";
}
Run the filemaker and the new cloth objects should be created in the
/scenes/character6directory.

