Adding object to scene
From XStoryPlayer Wiki
In this tutorial we will explore different ways to add an object to a scene.
Steps
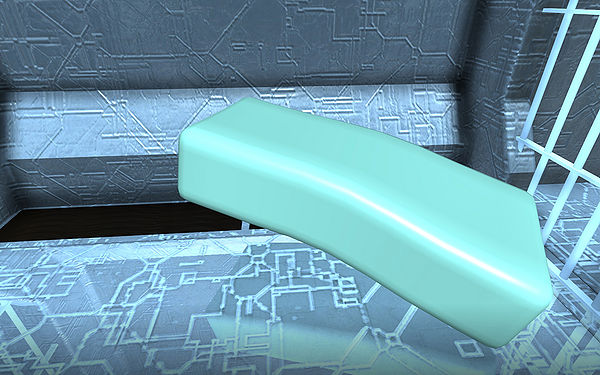
- Copy the bench1 files from the 'Tutorial resource pack' to the sources directory. It is a simple bench that will be placed in the cell.
- The most simple way to add an object to a scene is to use the reference editor in Maya. Do [File->Create Reference] in Maya and add the
bench.mato thescene.ma. - Add the
bench.mato thestart.iniof the Filemaker. Run the Filemaker and create the scene again. Run the scene, you should see the bench in the scene. - Remove the bench from the scene again using [File->Reference Editor]. Now we will add the object dynamically to the scene.
Add this code to the/init/story/scenes.datat the bottom off this file.
dyn_objecti BENCH1
{
  scene_id = SPACESHIP1; // The scene

  pos = (0,0,-1); // Position
  rot = (0,0,0);  // Rotation

  file_name = "scenes/object/benchShape.obj"; // The object file
}
This will create the bench dynamically in the scene. Run the story and you should now also see the bench in the scene.
- The
bench.inifile describes the bench object.
rb "benchShape" // A rigidbody object
{
  // Only render the object.
  // In essence it is now the same as a rd (render) object.
  render {}
}
We want to add a collider to the object. Place a cube named
coll1Shapearound the bench and change the code of thebench.inito this:rb "benchShape" { render {} physics { elem[0] {mesh = "coll1Shape";} } }
Run the filemaker and test the scene, you should collide now with the bench.
- Now lets make the object dynamic. Change the
bench.inito this:rb "benchShape" { dynamic = true; // Object is dynamic render {} physics { density = 200; // 200 kg per cubic meter fc = 0.1; // Low friction elem[0] {mesh = "coll1Shape";} } }
Run the filemaker and test the scene, run into the bench and it should move.
- Now lets make a soft body object of the bench. Copy the bench2 files from the 'Tutorial resource pack' to the sources directory (replace the existing bench files).
It is the same bench but with higher sub-division for both the mesh and the collider. Change thebench.inito this:soft "benchShape" { dynamic { grid_x = 4; // Divide x-axis in 4 soft clusters grid_y = 2; // Divide y-axis in 2 soft clusters grid_z = 2; // Divide y-axis in 2 soft clusters s = 100.0; // Spring strength (increase to make harder) d = 1.0; // Spring damping } render {} physics { density = 50.0; // Make light so we can pick it up mesh = "coll1Shape"; // The collision mesh } }
Run the filemaker and test the scene. The bench should be soft now.
-
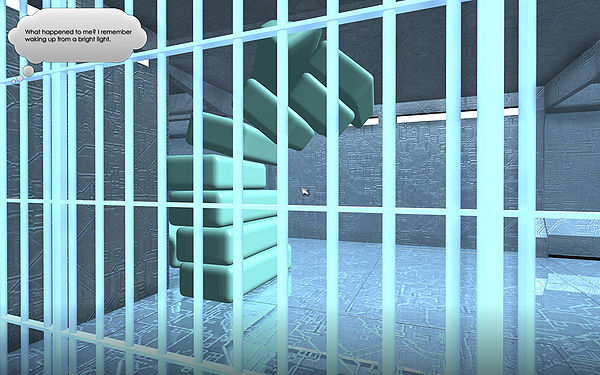
Now lets have some fun with the object. Create a large pile of benches stacked by adding this code to the
scenes.datfile:
dyn_object BENCH
{
  scene_id = SPACESHIP1;

  file_name = "scenes/object/benchShape.obj";

  rot = (0,0,0);
}

dyn_objecti:BENCH BENCH1 {pos = (6.5,0,-2);}
dyn_objecti:BENCH BENCH2 {pos = (6.5,0.56,-2);}
dyn_objecti:BENCH BENCH3 {pos = (6.5,1.12,-2);}
dyn_objecti:BENCH BENCH4 {pos = (6.5,1.68,-2);}
dyn_objecti:BENCH BENCH5 {pos = (6.5,2.24,-2);}
dyn_objecti:BENCH BENCH6 {pos = (6.5,2.8,-2);}
dyn_objecti:BENCH BENCH7 {pos = (6.5,3.36,-2);}
dyn_objecti:BENCH BENCH8 {pos = (6.5,3.92,-2);}
dyn_objecti:BENCH BENCH9 {pos = (6.5,4.48,-2);}
dyn_objecti:BENCH BENCH10 {pos = (6.5,5.04,-2);}
Remove the play-code afterwards. So we can proceed with adding some more conversation to our story, in the next tutorial 'Adding words to the NLP'.