Deriving new character from template character
From XStoryPlayer Wiki
In this tutorial we will be replacing the character template parts with a new character. After this tutorial you will know how to create a new character for XStoryPlayer
- We assume that you have finished the 'Installing template character' tutorial successfully.
- So you have thepack_characterpack installed.
- You have the testing shortcut, for testing the character.
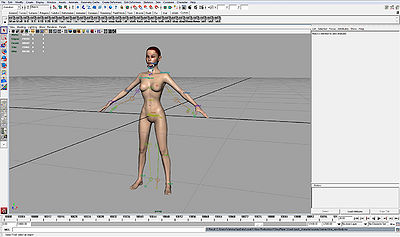
- Also your Maya project path is set to thepack_character - Open the
./pack/pack_character/sources/scenes/char_template/body.mafile in Maya.
Import themodel/body.mafrom the 'Tutorial resource pack' into your scene. This is the new (rigged) model you will use to replace the template character.
Save the new scene to./pack/pack_character/sources/scenes/char_new/body.ma.
Your end result should look like theStep 1 Char_new/body.mafile.
- Copy the
Step 1 Char_new/body.iniinto yourchar_newdirectory as well.
This is the template ini file, but most elements are commented out so they do not have to created at first. - Remove the hair, the collider, the old body etc to cleanup the scene.
Make sure there are no meshes binded to theroot_jointhierarchy. Also make a copy of the new model body that is not rigged. Hide the rigged model body and the rig itself.
Your end result should look exactly like theStep 2 Char_new/body.mafile. - Now that there are not meshes binded to the
root_jointhierarchy we can move/scale the joints so the new model has correct joints. Adjust the joints and make the end result should look like theStep 3 Char_new/body.mafile.
