Tutorial for adding Animations
Eskarn's tutorial for adding Animations
Eskarn's adding animations
Make sure you have downloaded and installed the Character Packs. We are using them in this tutorial.
Also make sure you have the dungeon scene unpacked. We will use that scene as a test scene.
If you dont know how to unpack a scene GO BACK this will be to advanced
THINGS USED IN THIS TUTORIAL
Maya (2014)
XStoryPlayer 3.5 with latest patch
Notepad ++(C++ is what we are woking with)
FileMaker
Tutorial resource pack
Download the 'Tutorial resource pack' using the account manager.
PDF VERSIONPDF versions do not get updated as regularly
TutorialResPack > TutorialResorcePack > 3.Advanced modding > 5. Character packs >
Copy pack_character into your pack folder this is what we will be using
So you should have pack_dungeon and pack_character
We will be editing Saiko (character 6) but you can edit Monica the same way (character 7)
pack_character\sources\scenes\character6
body.ma
First thing we need to do change the panel layout
This will let us see what we have in the scene
Next we need to change the timeline so we can see all the animations
Put the start playback range to 0 and the end playback range to 11500 so we can see all the animations then feel free to scrub though the timeline and check out the animations already there
Click and drag the timeline to go through it
Look at Saiko flailing about
Before we get into the actual animations i should explain how they are handled
Each animation is a series of poses and the game tweens(blends) between them
So if the npc is standing and we apply a pose of laying down it will move from standing to laying down using the frames we provided it will not just snap to it unless we tell it to
frame[9150] = 1.0; //So the frame[id] = duration (in seconds);
Frame 9150 and it will take 1 second for it to get to this pose
If we go from frame 9150 to frame 9160 the only 2 frames that will be used are 9150 and 9160 it will ignore the 9151-9159 frames
It is good to have a few frames to see what it will look like
There are 3 points at which the speed can be set in superseding order:
1) The animation (keyframe duration frame[9150] = 2; 2 seconds to go to that frame)
2) In the gesture record (e.g. speed = 2.0; speeds up 2x the animation)
3) Using the playback speed (loc.sm2.speed = 2; speeds up 2x the animation)
Layer 0 is the main animation layer. (Stand, Sit, Kneel, etc)
The gesture has default layer 3.(loc.sm.layer = 3;)(Yawn, Cough, etc)
Next is markers and they are used to stop and start animations at set times took me awhile to figure this all out
Markers are not needed to play animations or gestures but can be useful
Ok here we go you ready because im sure ya not
lets use this animation as a reference
This is fuck pole
movie "squat_leg"
		{
		            frame[9150] = 1.0;//marker0 loc.sm.id     = 0;
			frame[9120] = 1.0;//marker1 loc.sm.id     = 1;
			frame[9110] = 1.0;//marker2 loc.sm.id     = 2;
			frame[9115] = 1.0;//marker3 loc.sm.id     = 3;
			frame[9110] = 1.0;//marker4 loc.sm.id     = 4;
			frame[9115] = 1.0;
			frame[9120] = 1.0;
			frame[9150] = 0.0;

			marker[0] = 0;
			marker[1] = 1;
			marker[2] = 2;
			marker[3] = 3;
			marker[4] = 4;
    }
So we set our gesture which is
SetGesture(SQUAT_LEG);
Then to use the markers we need to use something called DOWIGGLE
DOWIGGLE randomly moves back and forth around the animation at the marker. So the animation does not look static
This is needed otherwise it will ignore the markers and just loop your gesture/animation
If you don't want it to actually wiggle then just set the speed and max to 0
// Stop at markers
loc.sm.layer     = 3; //Gesture layer
loc.sm.action    = DOWIGGLE;
loc.sm.wig_speed = 1.5;  // <<-------- The speed of the wiggle
loc.sm.wig_max   = 0.2;  // <<-------- The maximum wiggle amount
loc.sm.wig_speed_reset = false;  // <<------ If wiggle also resets the speed of the animation. If so the animation has to get up to speed again after wiggle.
SetMovieAction(loc.sm);
Next we need to tell the animation to continue
// We are at marker0
// Goto marker1
loc.sm2.layer  = 3;
loc.sm2.action = NEXT;//WIGGLE1
loc.sm2.speed  = 0.5;
SetMovieAction(loc.sm2);
state.dyn.me.task.pole.state = MOVE3;
This is sm2 so we don't get the engine confused with the other sm for starting the wiggle
Each time we tell it to go to the next marker it will add a incremental number to the WIGGLE
[MOVE3]
{
	[state.dyn.me.movie.event3 == WIGGLE1]
	{
	// Goto marker2
	loc.sm.layer  = 3;
	loc.sm.action = NEXT;//WIGGLE2
	loc.sm.speed  = 0.2;
	SetMovieAction(loc.sm);
	state.dyn.me.movie.event3 = null;

	 state.dyn.me.task.pole.state = MOVE4;
	}
}

[MOVE4]
{
	[state.dyn.me.movie.event3 == WIGGLE2]
	{
	// Goto marker3
	loc.sm.layer  = 3;
	loc.sm.action = NEXT;//WIGGLE3
	loc.sm.speed  = state.dyn.me.task.pole.speed;
	SetMovieAction(loc.sm);

	state.dyn.me.task.pole.state = MOVE5;
	}
}
Now to go back we use loc.sm.id so in this case go back to marker 2 so the 3rd frame because we start at 0
  // Goto back to marker2
loc.sm.layer  = 3;
loc.sm.action = NEXT;
loc.sm.speed  = state.dyn.me.task.pole.speed;
loc.sm.id     = 2;//back to WIGGLE2
SetMovieAction(loc.sm);
You good, Still following, Thats great :)
Here's some extra stuff
full_frame = false; // Check to make sure all joints have keyframe in the frame

full_joint = false; // Check to make sure all joint rotations have keyframe in the frame

linear = true; // Linear does not interpolate towards the keyframe but directly moves towards it and away from it. Same as Maya linear for keyframe.
Spherical does a spherical interpolation, and allows for smoother interpolation.
So now we understand a bit better how animations are done lets make our own
We need to add in 2 scripts to make things easier
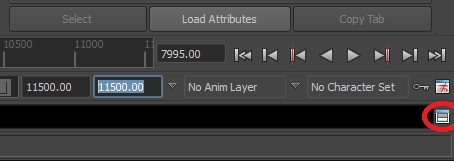
Click on the script editor
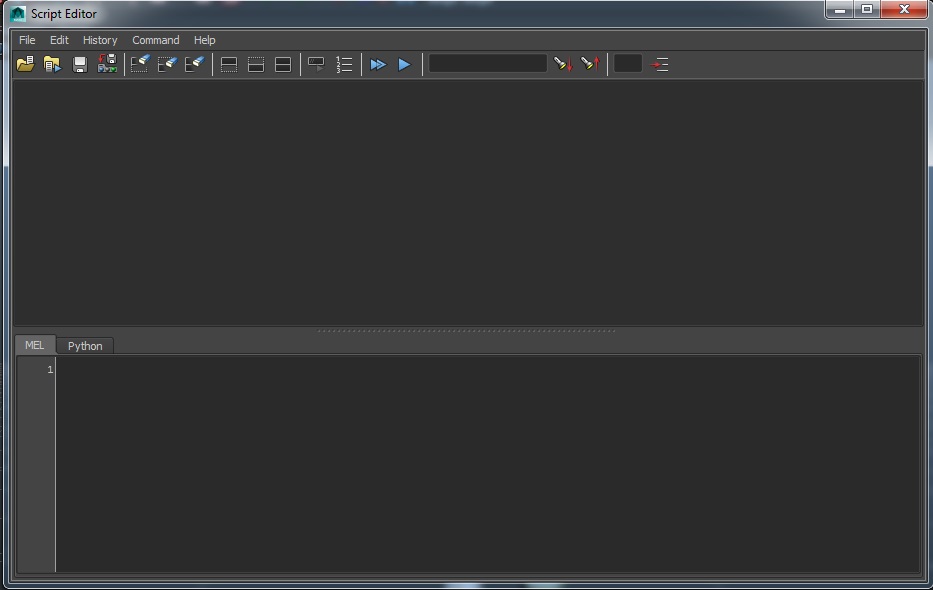
You should get a box that looks like this
Now we need to add in some script to the lower box and make sure The MEL tab is open
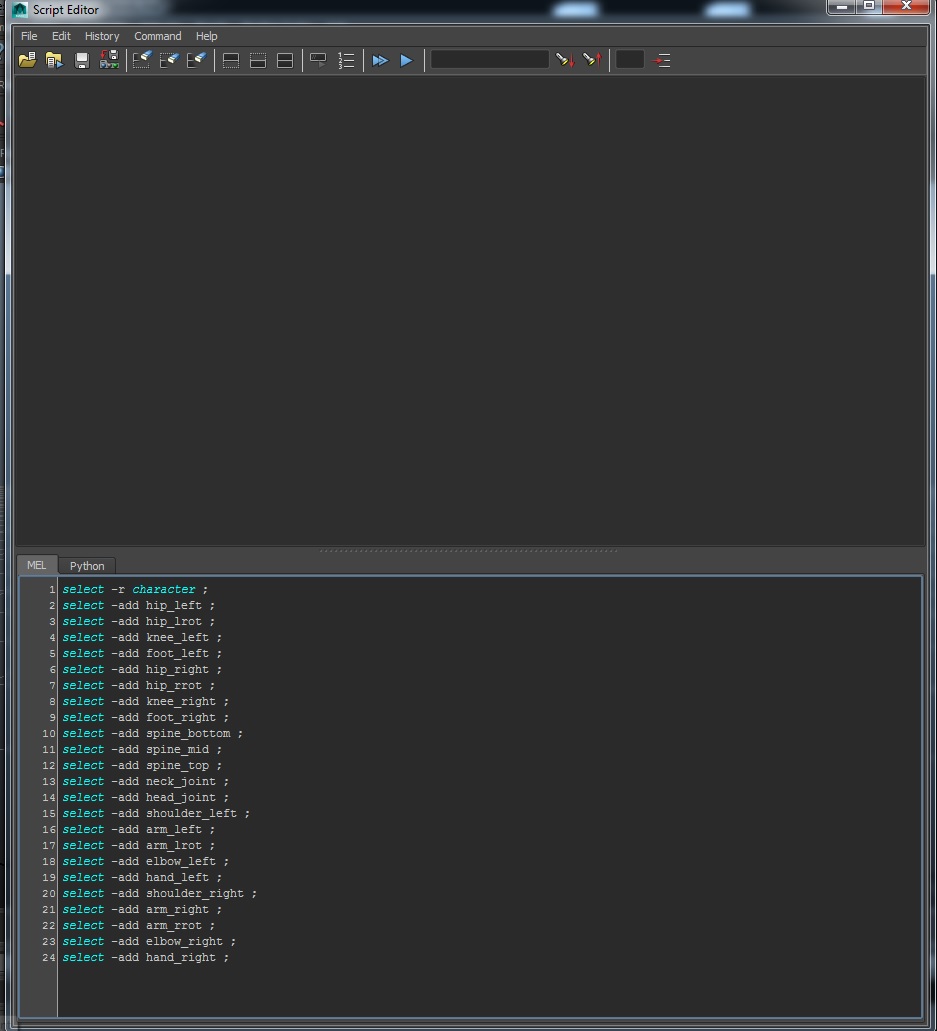
Then copy this script into the lower box
select -r character ;
select -add hip_left ;
select -add hip_lrot ;
select -add knee_left ;
select -add foot_left ;
select -add hip_right ;
select -add hip_rrot ;
select -add knee_right ;
select -add foot_right ;
select -add spine_bottom ;
select -add spine_mid ;
select -add spine_top ;
select -add neck_joint ;
select -add head_joint ;
select -add shoulder_left ;
select -add arm_left ;
select -add arm_lrot ;
select -add elbow_left ;
select -add hand_left ;
select -add shoulder_right ;
select -add arm_right ;
select -add arm_rrot ;
select -add elbow_right ;
select -add hand_right ;
This script selects all the joints
Then we can save this to our shelf/hotbar
You can rename it by right clicking on it and going edit
Shelves > Icon Label
Now add another script by opening the script editor and clearing the bottom box
Then add
select -r hip_left ;
setKeyframe "hip_left.rotateY";
setKeyframe "hip_left.rotateZ";

select -r knee_left ;
setKeyframe "knee_left.rotateY";

select -r foot_left ;
setKeyframe "foot_left.rotateY";
setKeyframe "foot_left.rotateZ";

select -r hip_right ;
setKeyframe "hip_right.rotateY";
setKeyframe "hip_right.rotateZ";

select -r knee_right ;
setKeyframe "knee_right.rotateY";

select -r foot_right ;
setKeyframe "foot_right.rotateY";
setKeyframe "foot_right.rotateZ";

select -r spine_bottom ;
setKeyframe "spine_bottom.rotateY";
setKeyframe "spine_bottom.rotateZ";

select -r spine_mid ;
setKeyframe "spine_mid.rotateY";
setKeyframe "spine_mid.rotateZ";

select -r spine_top ;
setKeyframe "spine_top.rotateY";

select -r neck_joint ;
setKeyframe "neck_joint.rotateY";
setKeyframe "neck_joint.rotateZ";

select -r head_joint ;
setKeyframe "head_joint.rotateX";
setKeyframe "head_joint.rotateY";

select -r shoulder_left ;
setKeyframe "shoulder_left.rotateX";
setKeyframe "shoulder_left.rotateZ";

select -r arm_left ;
setKeyframe "arm_left.rotateY";
setKeyframe "arm_left.rotateZ";

select -r elbow_left ;
setKeyframe "elbow_left.rotateY";

select -r hand_left ;
setKeyframe "hand_left.rotateX";
setKeyframe "hand_left.rotateZ";

select -r shoulder_right ;
setKeyframe "shoulder_right.rotateX";
setKeyframe "shoulder_right.rotateZ";

select -r arm_right ;
setKeyframe "arm_right.rotateY";
setKeyframe "arm_right.rotateZ";

select -r elbow_right ;
setKeyframe "elbow_right.rotateY";

select -r hand_right ;
setKeyframe "hand_right.rotateX";
setKeyframe "hand_right.rotateZ";

select -r arm_rrot;
setKeyframe "arm_rrot.rotateX";

select -r arm_lrot;
setKeyframe "arm_lrot.rotateX";

select -r hip_rrot;
setKeyframe "hip_rrot.rotateX";

select -r hip_lrot;
setKeyframe "hip_lrot.rotateX";

select -r character ;
setKeyframe "character.translateX";
setKeyframe "character.rotateX";
setKeyframe "character.rotateY";
setKeyframe "character.translateY";
setKeyframe "character.rotateZ";
setKeyframe "character.translateZ";
This script saves the keyframes
And save that to the shelf aswell and name it if prompted
Now that we have that out of the way time to add in a pose
Set the start playback range to 300 and scrub to 300
Saiko should be standing straight
This is her default stand pose and we will be using it as a base
So now select all her bones using the first script
A bunch of red lines should appear in the timeline each red line is a keyframe
While being on frame 300 right click the timeline and choose copy
Then go to frame 11500 and right click the timeline and go paste > paste
Now frame 11500 should be saiko standing straight
Time to make a pose but first...
MORE INFOMATION and yes its important...
DO NOT UNLOCK ANY OF THE AXIS... Fine do it and find out
Only rotate her joints do not move them, Well actually no try to move them and find out why we only rotate
Do not move the root_joint even if you do it wont do anything ingame just leave it alone
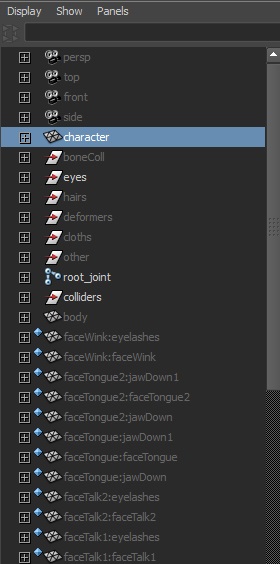
To move/rotate the entire character select character in the side menu
If you move her to far away from her starting pose the breathing animation will look really bad/wrong/nightmarish
And she will snap back to her starting pose when the animation is changed/over
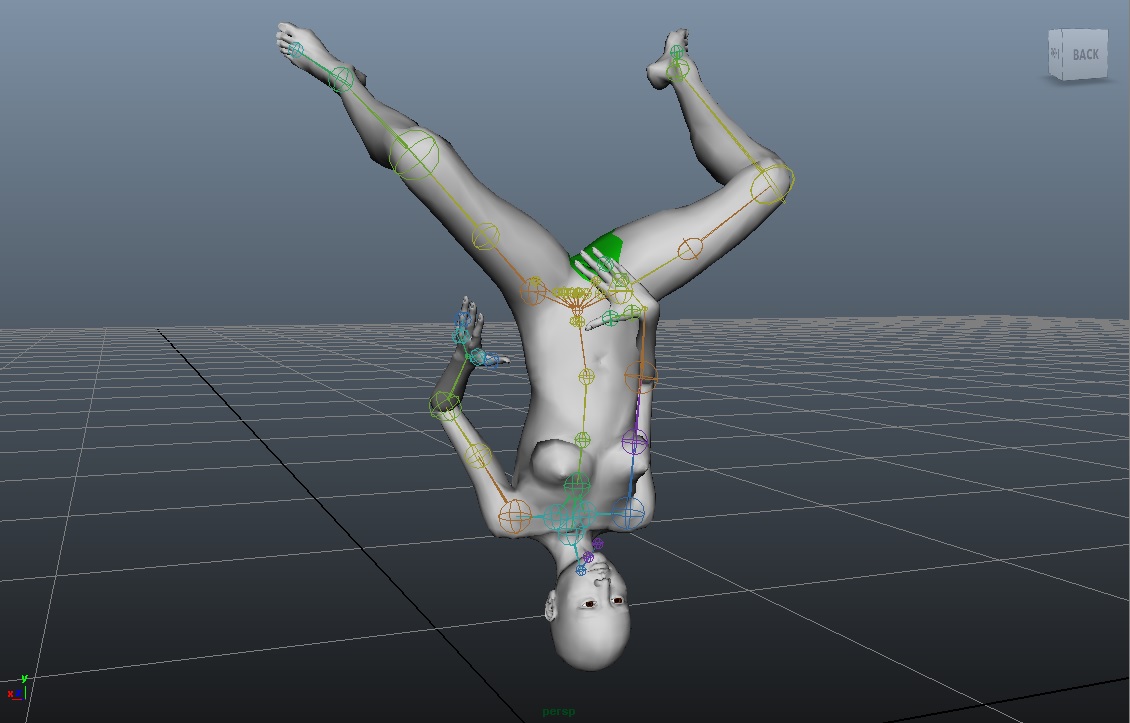
She does not care about gravity if you pose her upside down she will not fall on her head
Make sure not to change the frame without setting the keyframe otherwise it will reset the pose
Keeping all these in mind make a pose
Now that we have our pose we need to set it
So click the second script we made and this will set the keyframes
save the body.ma
(if you save it then click the keyframe script and try to save it again it will say there's nothing to save so just rotate a joint a little then save)
Next we need to open the body.ini file
pack_character\sources\scenes\character6
body.ini
find "jiggle_0"
Then under it add in
movie "test_0"
{
  frame[11500] = 0;
}
Make sure the brackets are correct
frame[11000] = 0.0;
    }
movie "test_0"
{
  frame[11500] = 0;
}
  }
  morph
Save the body.ini
Now we need to run the filemaker
Copy the start.ini from
TutorialResPack > TutorialResorcePack > 3.Advanced modding > 5. Character packs > Filemaker
To your own filemaker folder(backup the one already there if you want)
Then open the start.ini
And edit it to look like this
//////////////////////////////////////////////////////
// Defines
//////////////////////////////////////////////////////

#define SOURCES  "../pack/pack_character/sources/"
#define RUNTIME  "../pack/pack_character/"

//////////////////////////////////////////////////////
// Maya convert settings
//////////////////////////////////////////////////////

// Copy textures to runtime directory
// and create dir if it not exists
maya_auto_copy = COPY_DIR;

// Use compressed color textures
maya_auto_compress = COLOR;

//////////////////////////////////////////////////////
// Create scene
//////////////////////////////////////////////////////

Maya scene
{
  src_path = "[SOURCES]";
  run_path = "[RUNTIME]";

  in_file  = "[SOURCES]scenes/character6/body.ma";
}

// Use hair type 1
//#define HAIR 1

//Maya scene
//{
 // src_path = "[SOURCES]";
 // run_path = "[RUNTIME]";

 // in_file  = "[SOURCES]scenes/character7/body.ma";
//}

//////////////////////////////////////////////////////
// Compress textures
//////////////////////////////////////////////////////

// Compress textures from scene
Compgen compress0
{
  // Comment if you dont want to compress files everytime again
  //compress = true;
}
Why because //#define HAIR 1 adds broken hair to Saiko head aswell as the hair she already has looks bad
 //Maya scene
//{
 // src_path = "[SOURCES]";
 // run_path = "[RUNTIME]";

 // in_file  = "[SOURCES]scenes/character7/body.ma";
//}
Because we dont need to compile Monica
And //compress = true;
Because we don't need to compress ~21 textures
Now run the filemaker and assuming all the filenames are correct... it will work
It does take about 10-20 seconds
(Takes a lot longer if it has to compress testures and do Monica aswell)
After its done go to
pack_character\scenes\character6
And copy the characterShape.obj
Then go to
pack_dungeon\scenes\character6
and paste it there override the one that's there
You should back up the one that's there but meh
ALMOST DONE
Go to
pack_dungeon\init\std\base\char
char_base.dat
Scroll down to the very bottom
And add in
pose_type[126]//if the one before is not 125 then adjust this number
{
	type = TEST;      // The pose name
	id   = 0;             // The pose id
	name = "*test_0"; // The pose animation

	need_type = STAND; // Need this pose before starting
	need_id   = 0;

	go_type   = STAND; // Goto this pose when ready
	go_id     = 0;

	fade_in = 1.5; // Fade in

	damp = 3; // Damping

	loop = false; // No loop
}
Remember to have the correct brackets
SO CLOSE
Now go to
pack_dungeon\init\std\template\char\brain\code\run
jiggle0_state.dat
Open that up
Line 15
Change the pose_type to TEST or whatever you named your animation if you changed the name
// Jiggle
loc.sp.pose_type = TEST;
Save the jiggle0_state.dat
Before you run the game you might want to rename the pack_dungeon.bin inside your pack folder to 1pack_dungeon.bin this way it wont show up in the list and you cant accidently use the wrong one and sit there for hours wondering why nothing you change is actually working to feel like an idiot because you used the wrong one... just saying
RUN THE GAME
SELECT FAST SEX
PICK DUNGEON(there will be 2 if you did not rename the pack_dungeon.bin good luck guessing which one it is)
CHOOSE SAIKO
TELL HER TO JIGGLE
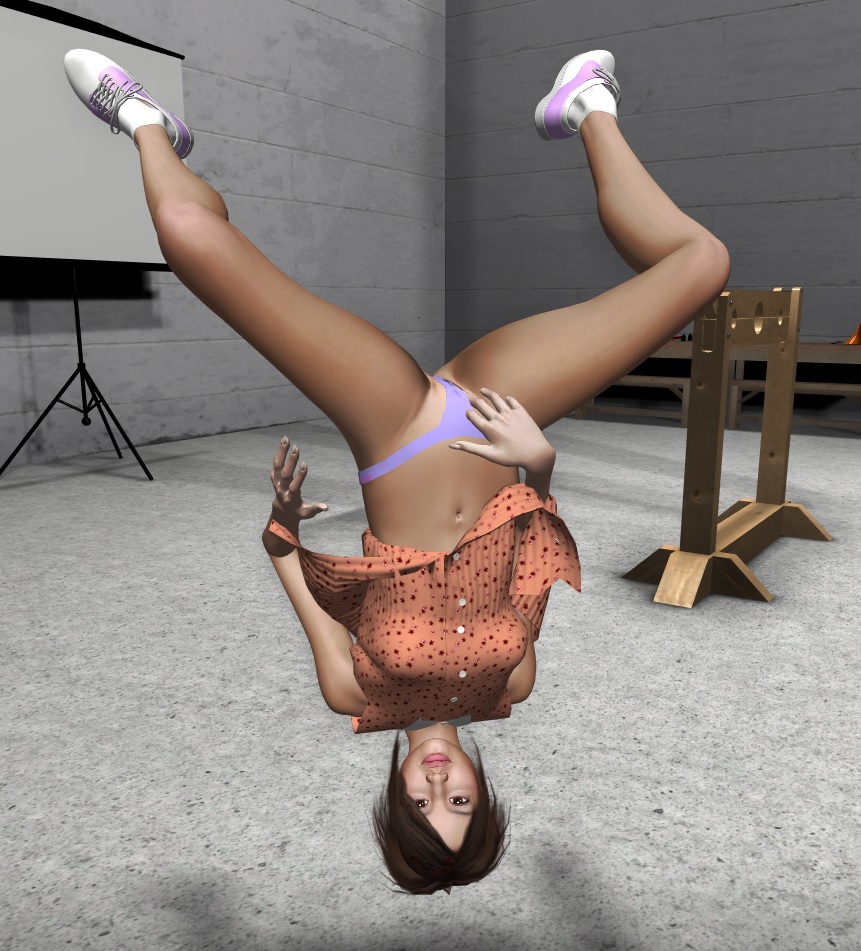
BASK IN THE GLORY OF YOUR NEW ANIMATION/POSE
If i did my tutorial right and you followed it correctly then you now know how to add in custom animations
So i should start seeing custom animations on the modding forum soon right?


